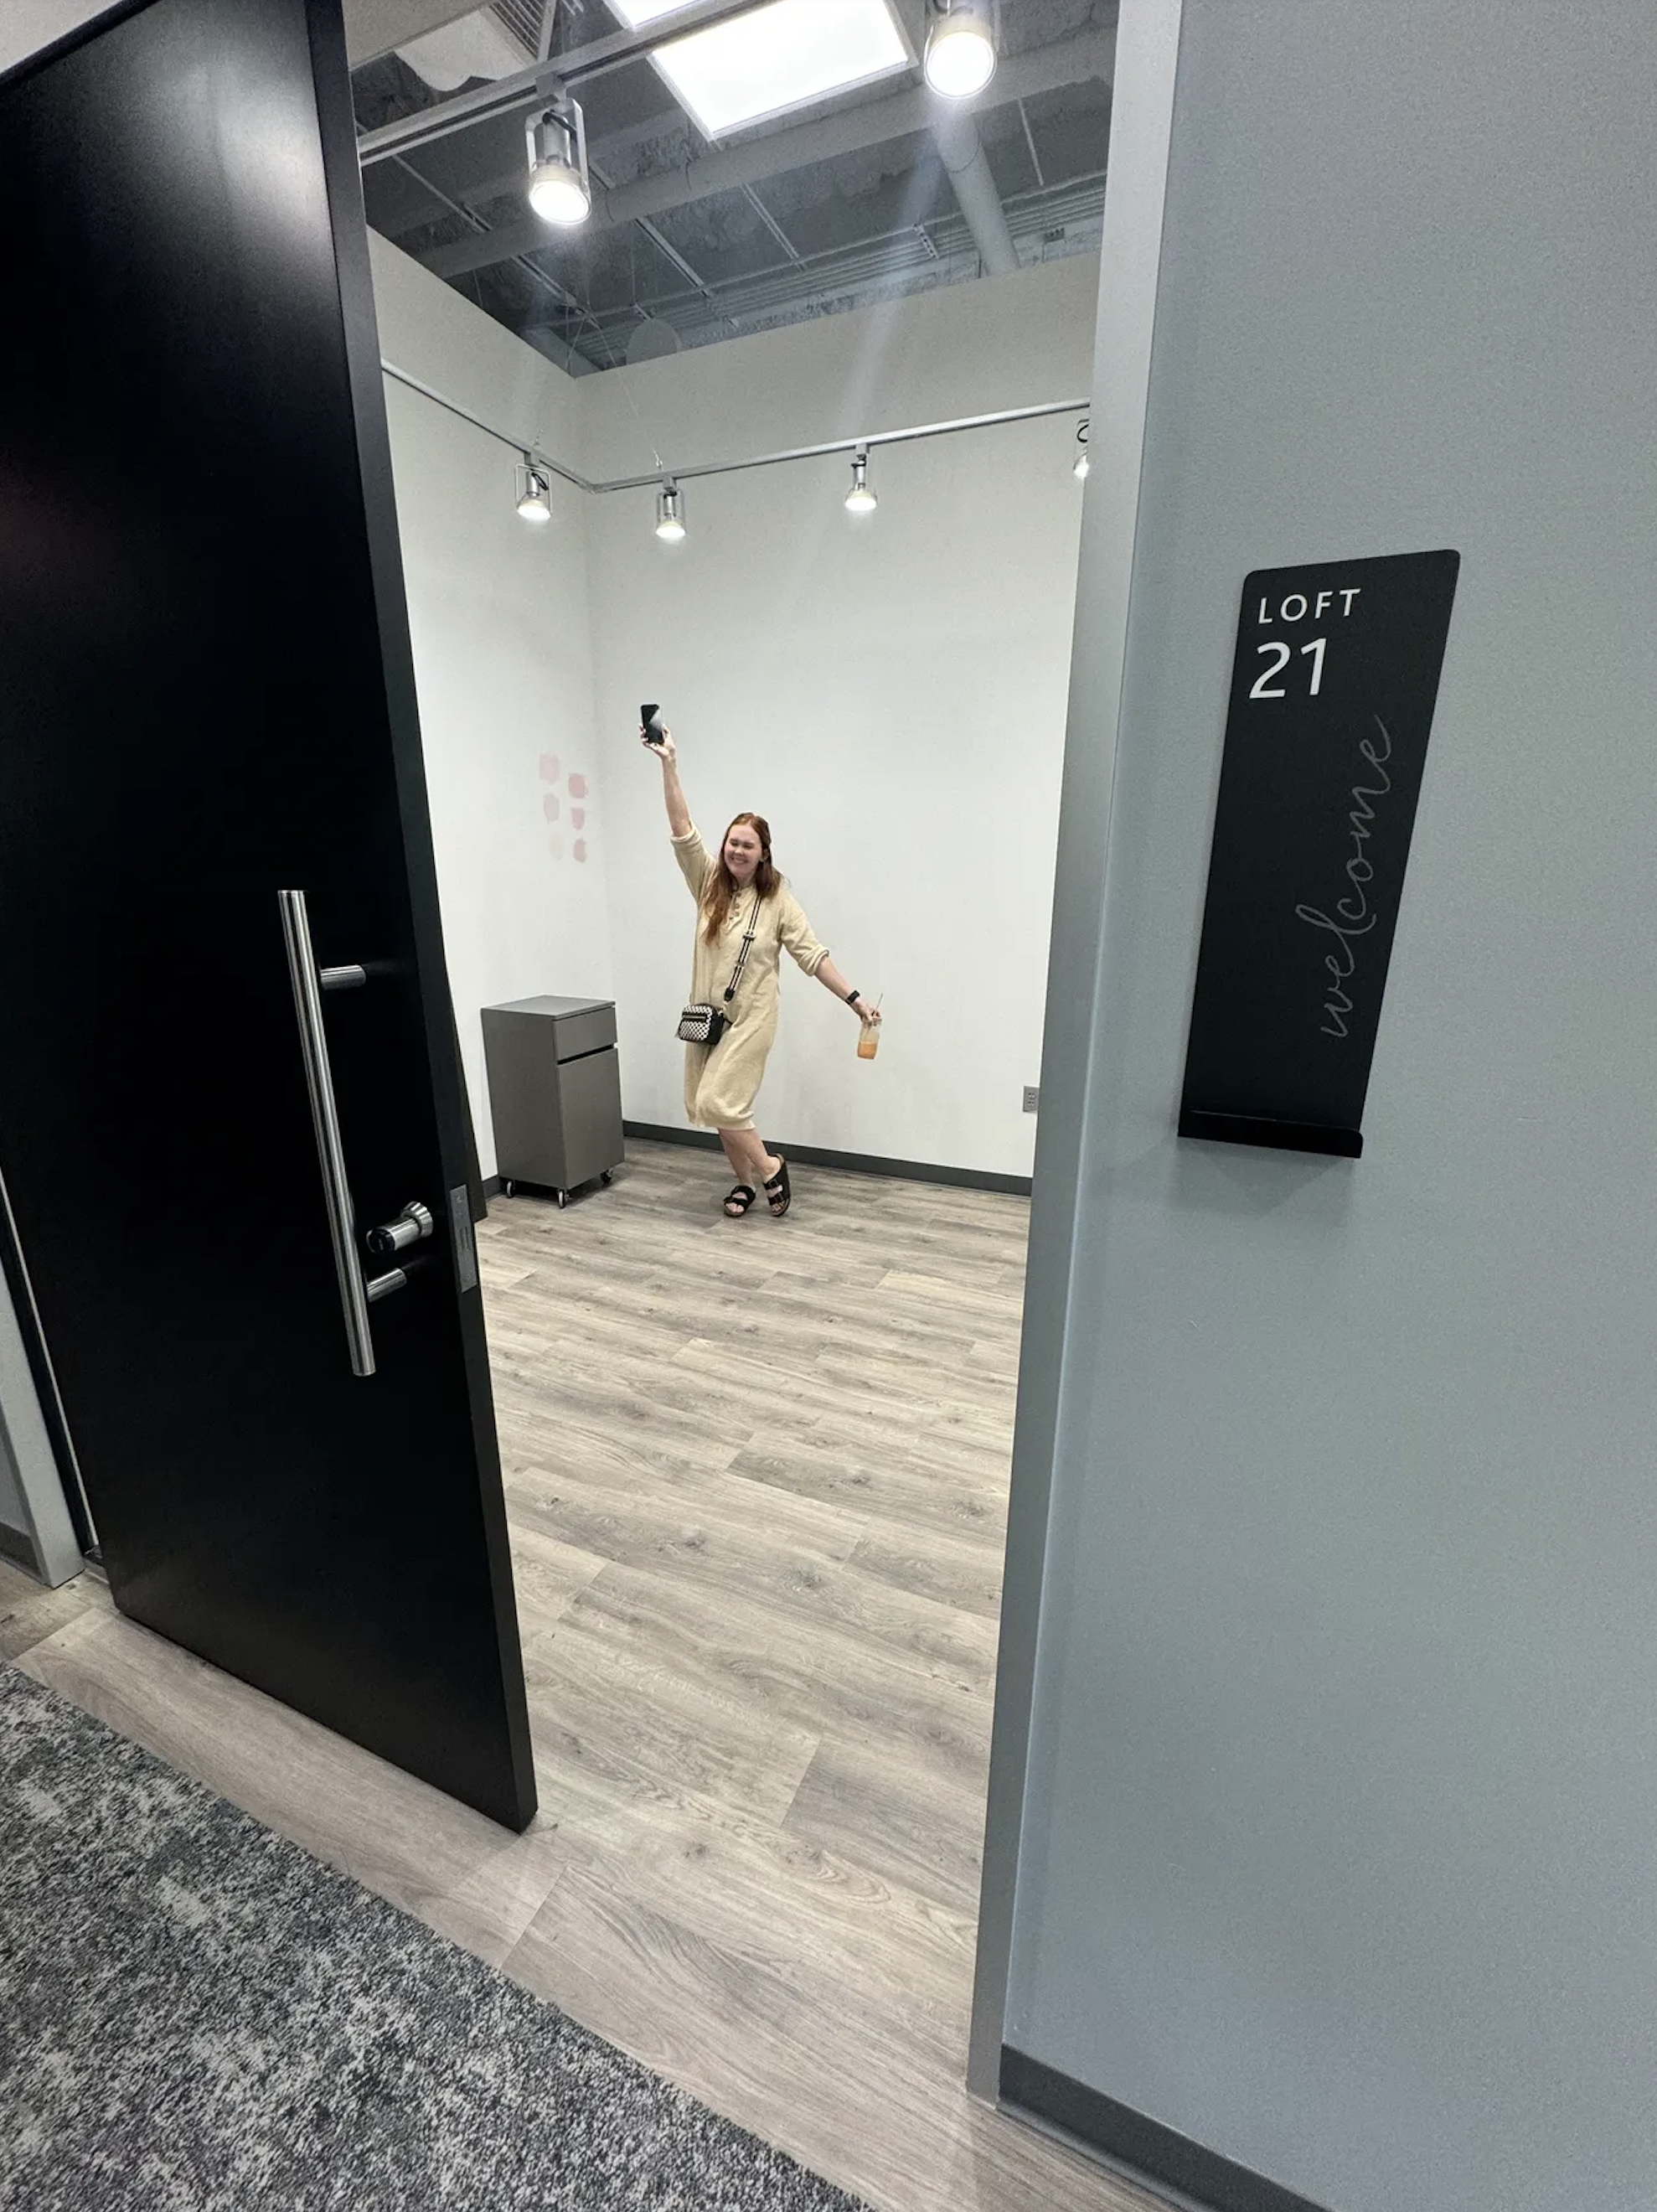
Designing my New Salon Space

Kopper Blonde Boutique Salon
Everyone was so excited when my new space was finally complete, I had about a million questions about how I designed it, IF I designed it, if the space came with everything already, where I got the hutch, and if I did it all myself and and thought it would be fun to write up a post on how I did it all!!
Sources and links are listed at the end of the post.
I first started the items I knew I wasn't going to replace in the space, (most salon suites come with basic furniture and equipment so you could get started right away) like my shampoo bowl station, flooring and the black door.
I knew I would be purchasing my own chairs, mirrors and cabinets so these items that were staying I knew somehow needed to be incorporated and match so the space felt cohesive. I needed the colors I picked to not be too warm because the flooring is a cooler tone and I wanted the black windows, doors and shampoo station to not feel out of place so I kept that in mind when selecting the furniture.
Now the fun part. I got to selecting my inspiration pics!

I honestly just found lots of ideas on Pinterest and went from there with what I thought was doable for my space and for the storage I knew I needed and long term goals there. For example, the custom pink hutch my dad and husband built was an Ikea hack I found on Pinterest! So very grateful for my dad and husband who helped me so much moving in and out of the salon spaces. It really is so much work.
I really liked this blue print of the wallpaper- reminiscent of a sea fan, so a suble nod to the beach (I know I live in Phoenix but I love the beach and the ocean and wanted that to stand out in my new space) without screaming seashells! These two items I knew were a must have in my space. So I designed everything around those colors, shapes and style.
To make sure that all the items and furniture pieces I wanted to purchase were cohesive and matched I simply made a "sticker" on my iPhone with a lot of the products I liked, I then would layer the items I was trying out on a photo, and see if they were a good match. If they weren't I would simply delete the sticker and copy/paste another. There are design apps you can also use, but I just knew how to do this and it worked perfectly. I just made sure to measure the walls and items at least 4x lol so that I was SURE they would fit the space!
Here's an example of some of the images I put together to try out. I played around with a rug design and some other fun pieces that didn't make it to the final cut.


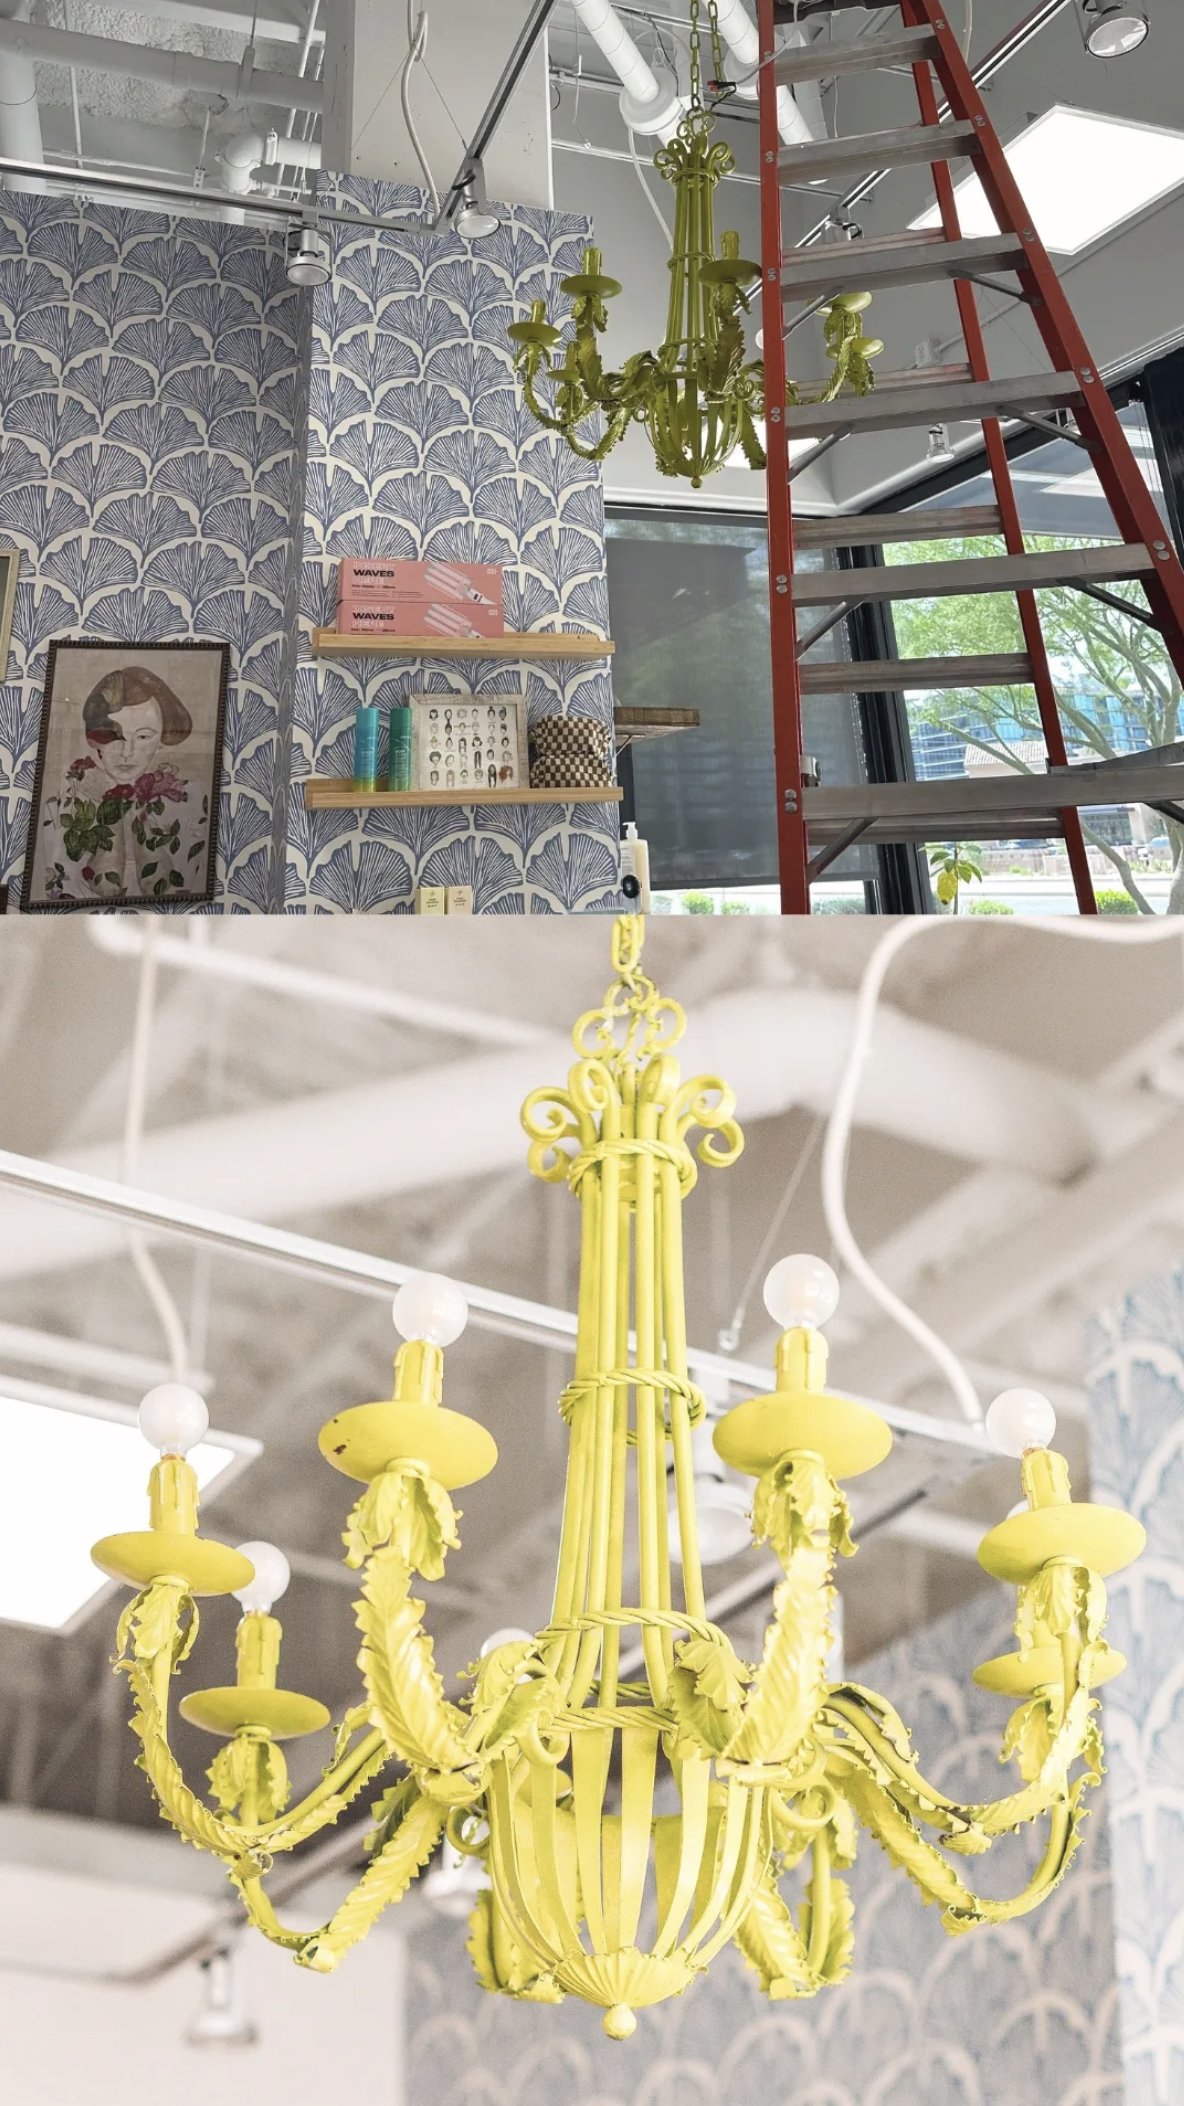
Chartreuse Chandelier
After finalizing the larger pieces, colors and furniture items, I knew I wanted a fun chandelier! The space with its open loft area needed something EXTRA and wow and fun. I thought I would look around for one but then remembered I had been storing the perfect fit in my garage for the last 5 years, haha!
I wanted a fresh and funky color that didn't "match" at all but still went well with the other items I chose and I ended on this Green Citrus color. At first I absolutely hated it. I went through 5 cans of this stuff to get enough coats and cover the entire chandelier. Even after I completed it and took it into the space I was still unsure about the color. oops. I almost repainted it multiple times but it was such a pain, part of me just was being lazy and going to deal with it even if I did hate it. After finding someone brave enough to climb up the ladder to hang it, I absolutely fell in love and I am totally obsessed. It's my favorite feature in my space!! I'm so happy I stuck with my gut feeling and just went for it. I also love the round bulbs. That was curtesy of Anthropologie Inso. I would have never thought to do them but I feel like it modernizes it so much instead of doing the candle style bulbs.
Last but not not least was all the filler items like shelves, tables, accent chair, hooks, florals and plants. I used the Ikea picture shelves for this smaller area for product and my old station shelves for the larger wood shelves on the other side.

As I live in the space I continue to add or remove items but all in all this is how I designed my new salon space! It was such a blast but what I tell everyone is that I don't know how people do this for a living and do an entire house or space! My space is a little over 220 square feet I can't imagine doing and designing any more. But it was so fun and is definitely my happy place!! Can't wait for you to see it in person!

xo, Kaylee
p.s. I just wanted to make a shoutout to my family, husband, sister, mom and dad for all their help moving into this new space. We spent so many late nights working between breastfeeding hours (I had a 4 month old at the time and 2 other littles at home), baby in the stroller on the mothers day weekend at midnight, painting, hanging, designing, moving product around, moving it around AGAIN-- just all the things. I am truly so blessed with an amazing support system and literally couldn't have done it without them!
SOURCES:
Accent chair: Target Threshold currently sold out
Portrait Pictures: Girl 1, Girl 2, Girl 3, Girl 4, Girl 5, Girl 6
Chandelier, checkout station are thrifted as well as some of the other picture frames